
Patton Home SolutionsPatton Home Solutions
(801) 898-8435

Patton Home Solutions · Salt Lake County

Drywall Repair, Ceiling Repair, and Texture Matching in Salt Lake County — Done with Care

Drywall repair, ceiling repair, texture matching, and paint-ready finishing for damaged residential interiors. We make the scope clear, protect your home, and carry the work through to a clean final finish.

Get an estimate
Drywall Repair, Ceiling Repair, and Texture Matching

A better project starts with a better plan

Home improvements with a clear path from first conversation to final walkthrough.

We handle the repairs homeowners actually search for: drywall holes, damaged ceilings, water-damaged sections, cracked seams, and texture matching after a repair or remodel.

Installation is available when the scope calls for it, but the goal is a stable, paint-ready surface that blends with the surrounding wall or ceiling.

5.0Google rating
LocalSalt Lake County crew
ClearScope and communication
CleanRespectful jobsite standards

Selected work

Relevant Project Examples

A selection of completed Patton projects related to this service. Locations are shown where documented in the project record.

View all projects ↗
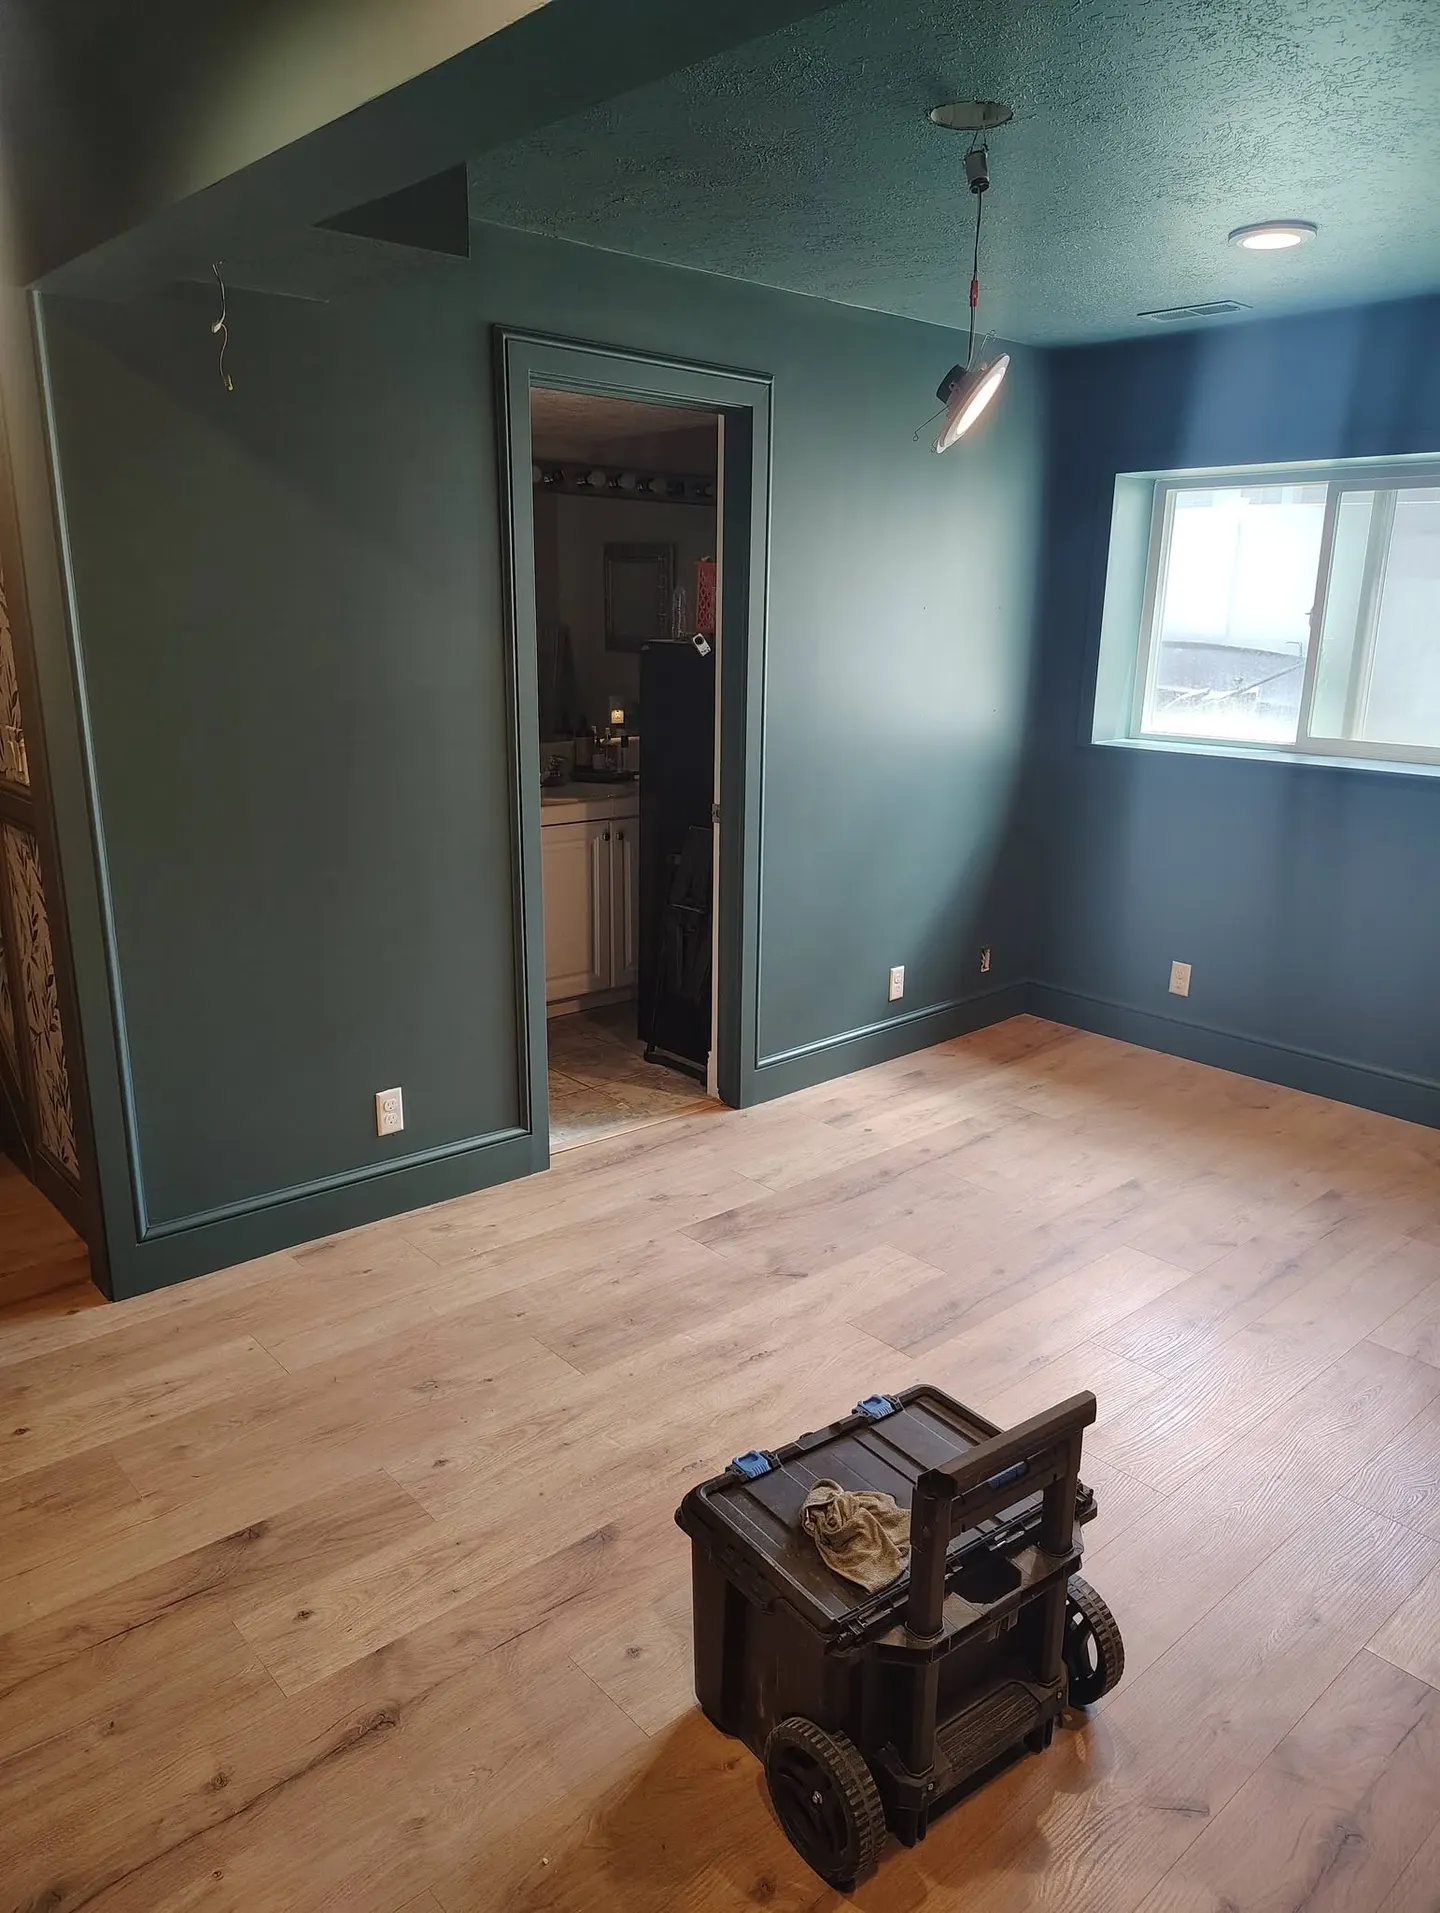
Drywall Finish, Paint & Trim before
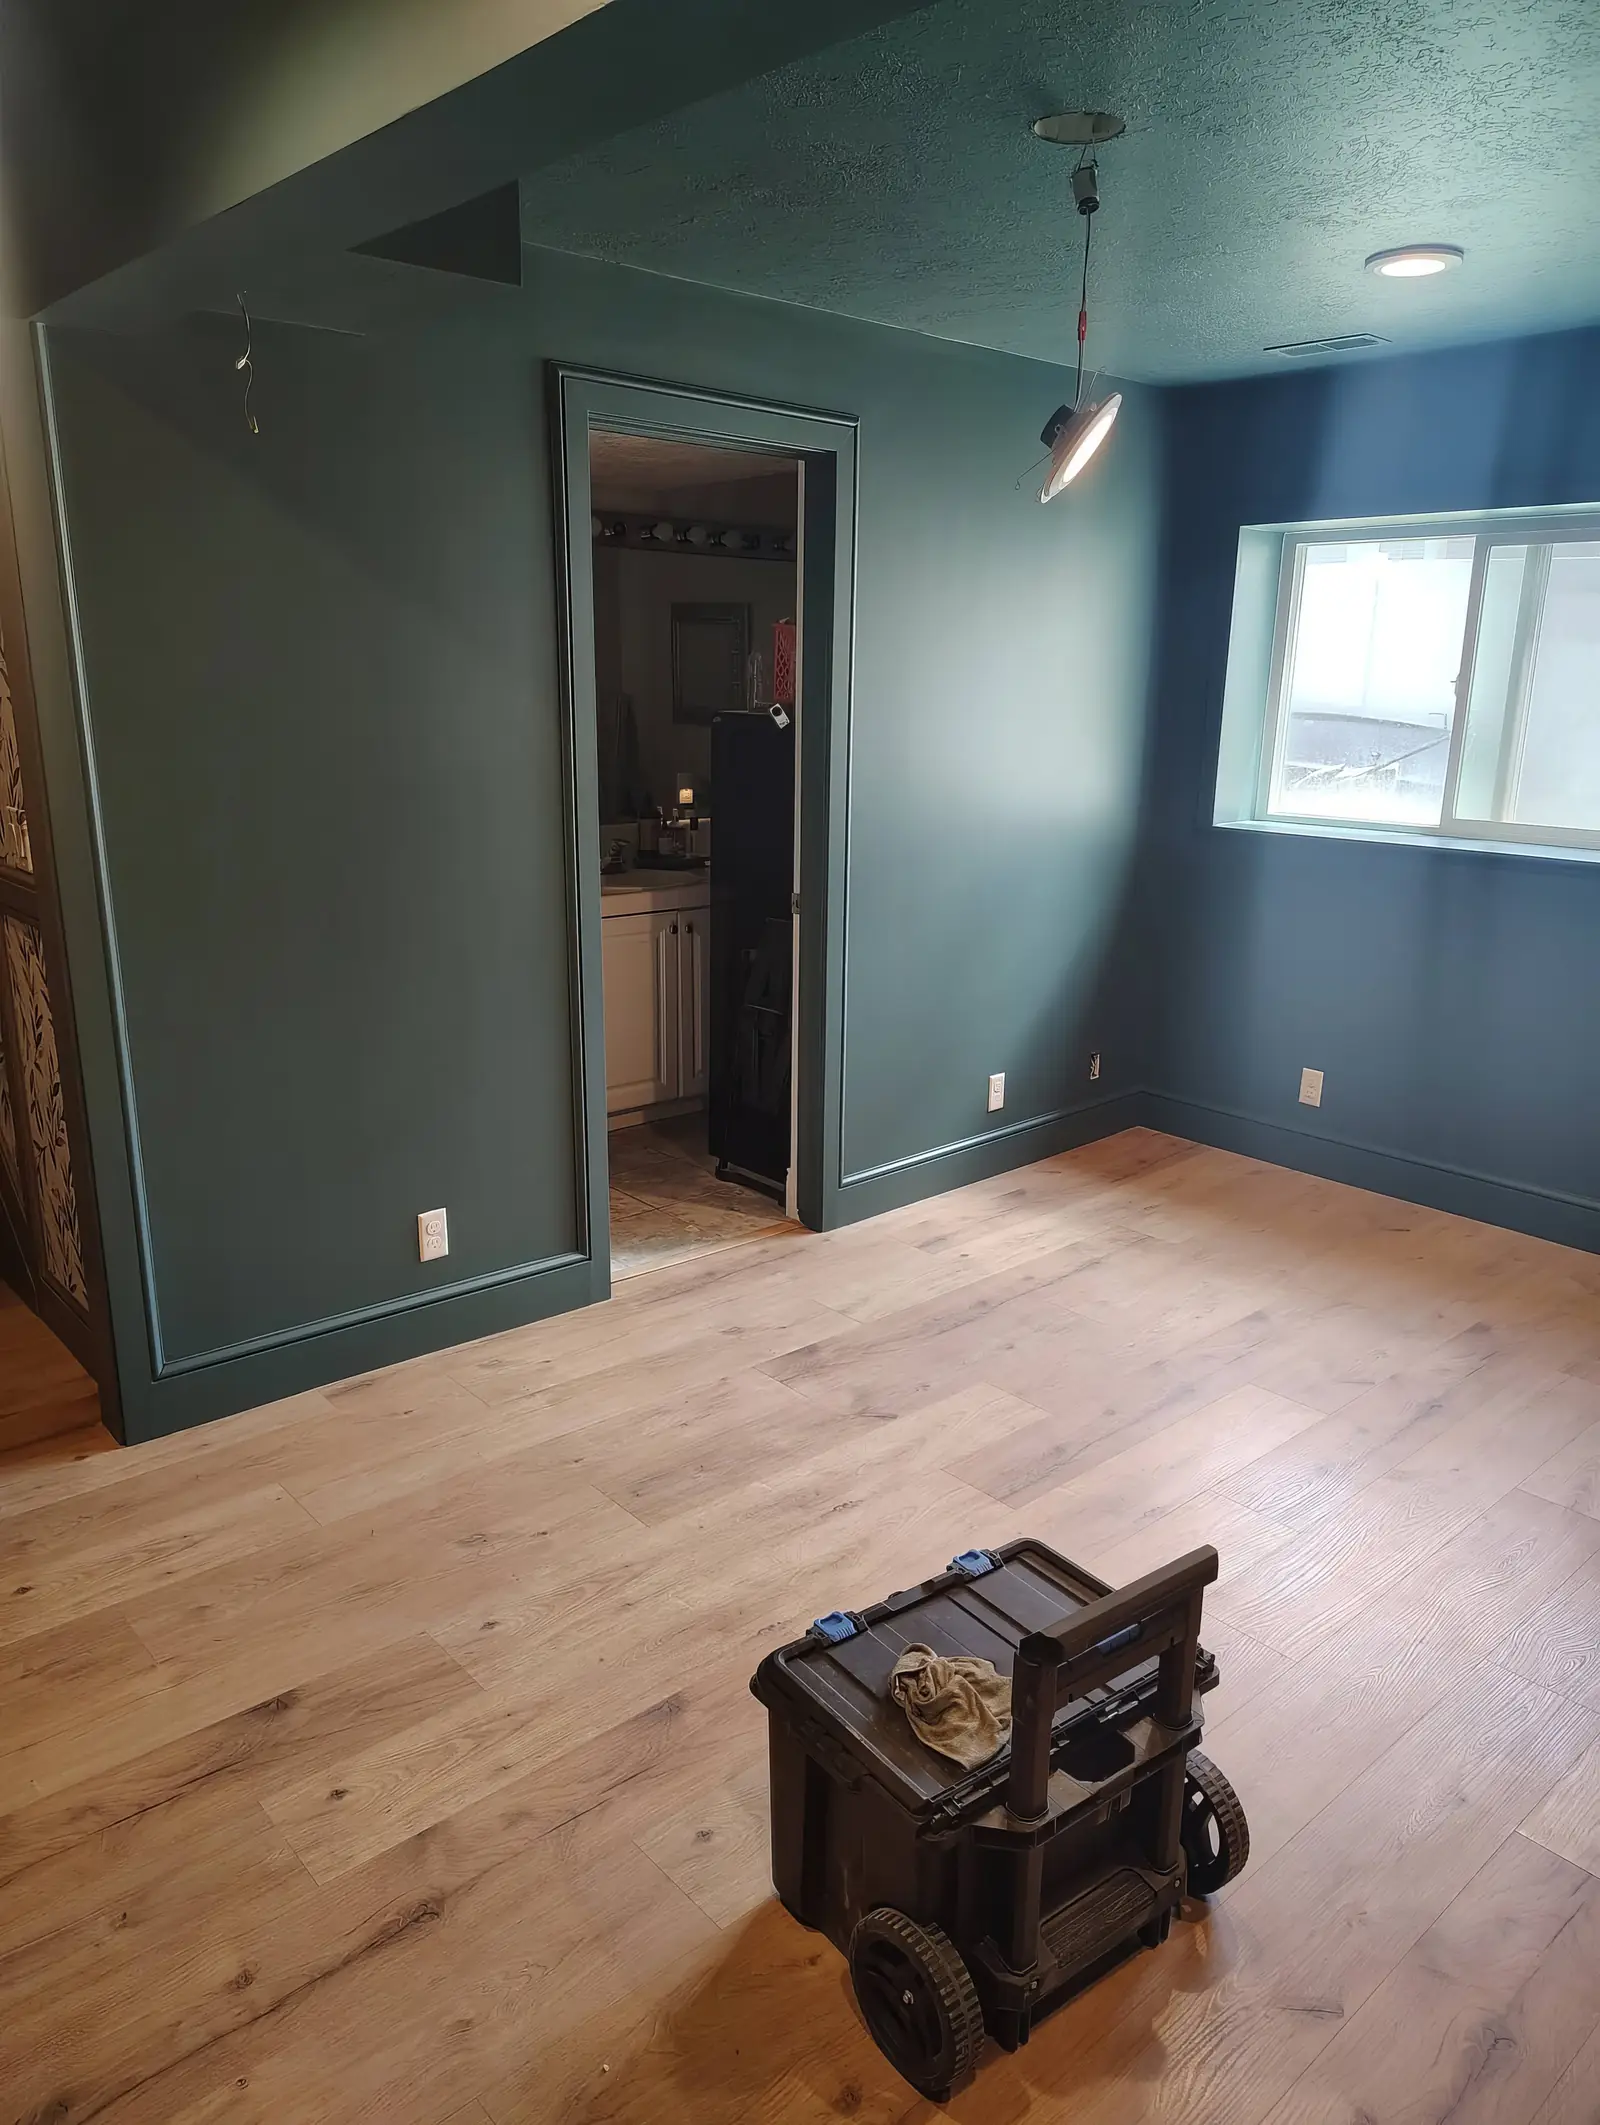
Drywall Finish, Paint & Trim after
Before After
Salt Lake County, UT

Drywall Finish, Paint & Trim

ProblemTurn an unfinished or damaged room into a clean, usable space.

SolutionDrywall finishing, paint, trim, and flooring. We worked through new and existing finish surfaces needed to meet without visible seams or mismatched texture.

OutcomeThe room received a complete, paint-ready finish with coordinated trim and flooring.

Scope
Drywall finishing, paint, trim, and flooring.
Timeline
Focused room finish project with drying and paint-prep stages.

Recent Google feedback

What homeowners said about related work.

Read the Google profile ↗

The current Google review export does not contain a comment specifically about this service yet. We keep the page connected to the live review source and link to the full profile so homeowners can review the broader customer feedback.

Our Home Renovation Process

Great remodeling isn’t spontaneous. It’s carefully designed and professionally executed. And this is how we nail it every time.

Step-by-step process
Consultation and Conceptualization

Step 01

Consultation and Conceptualization

We begin with the existing kitchen, listen to what is not working, and define the backsplash, flooring, and finish improvements that will make the space work better.

  1. Step 01

    Consultation and Conceptualization

    We begin with the existing kitchen, listen to what is not working, and define the backsplash, flooring, and finish improvements that will make the space work better.

  2. Step 02

    Design and Planning

    We prepare the surfaces, plan the tile layout, coordinate the material details, and shape the work sequence before installation begins.

  3. Step 03

    Construction and Renovation

    The work moves from demolition and preparation into tile installation, flooring updates, and the careful finish work that brings the kitchen together.

  4. Step 04

    Final Walkthrough and Approval

    We review the finished backsplash and flooring with you, confirm the details are complete, and leave you with a cleaner, brighter kitchen ready for everyday life.

What we do

A practical scope built around your home.

01 · Patton standard

Repairs That Blend Back Into the Room

We handle the repairs homeowners actually search for: drywall holes, damaged ceilings, water-damaged sections, cracked seams, and texture matching after a repair or remodel.

Installation is available when the scope calls for it, but the goal is a stable, paint-ready surface that blends with the surrounding wall or ceiling.

  • New drywall installation
  • Patch and texture blend repair
  • Ceiling and wall damage correction
  • Tape, mud, and sanding finish work
  • Paint-prep drywall completion
Repairs That Blend Back Into the Room project detail

02 · Patton standard

Drywall Repair Process and Timeframes

Small holes and dents (under 6 inches) are the fastest repairs. We cut a clean patch, secure it with backing, apply joint compound in thin layers, and sand between coats. A small repair typically requires three coats of compound with drying time between each, so completion usually takes two visits.

Larger holes, water-damaged sections, and remodel tie-ins require cutting out the damaged area, installing new drywall, taping the seams, and applying compound. The process is the same but the drying time between coats scales with the area. We use quick-setting compound on larger patches to reduce drying time.

Texture matching is the most challenging part of drywall repair. We match knockdown, orange peel, skip trowel, and smooth finishes using specialized spray textures and hand techniques. Getting the texture right is what makes the repair invisible after painting.

  • Small patches (under 6 inches) can be completed in 2 visits over 2 days
  • Large sections and full wall replacements require more drying time between coats
  • Texture matching requires identifying the existing texture type and application method
  • Paint-ready finish means all dust is cleaned and surface is primed for painting
Drywall Repair Process and Timeframes project detail

03 · Patton standard

When to Repair vs. Replace Drywall

Small holes, dings, and cracks should always be repaired rather than replaced. The repair is faster, cheaper, and produces an invisible result when done correctly. We patch these routinely and the results blend seamlessly with existing walls.

Full replacement is recommended when drywall has extensive water damage, mold growth, or structural damage that compromises the integrity of the board. In these cases, removing the damaged section and installing new drywall ensures a stable, long-lasting surface.

Ceiling repairs require extra care because gravity works against you during installation. We use drywall lift panels for ceiling work and apply additional screws to prevent sagging over time. Water-damaged ceiling drywall should always be replaced.

  • Patch repair is preferred for holes under 12 inches in diameter
  • Full replacement needed for water damage, mold, or structural compromise
  • Ceiling drywall requires additional fastening to prevent sagging
  • Fire-rated drywall required in garage walls and ceilings separating living spaces
When to Repair vs. Replace Drywall project detail

What our neighbors say

Tracey is amazing. He remodeled our kitchen and installed new floors in our home. He is dependable and professional. Top notch quality work.
Curtis HarrisRead our reviews ↗

Serving your neighborhood

Drywall Repair, Ceiling Repair, and Texture Matching across Salt Lake County

From Salt Lake City to Draper, West Jordan, Sandy, and surrounding communities, we bring the same organized process and finish standard to every home.

Salt Lake CityWest JordanSouth JordanSandyDraperMurrayMidvaleTaylorsvilleRivertonHerrimanWest Valley City

Questions, answered

Before we get started

Do you offer drywall repair, ceiling repair, and texture matching across Salt Lake County?

Yes. Patton Home Solutions provides drywall repair, ceiling repair, and texture matching throughout Salt Lake County, including Salt Lake City, West Jordan, South Jordan, Sandy, Draper, and nearby cities.

What happens during the first conversation?

We review your goals, photos, priorities, and constraints, then outline a practical scope and the next step toward an estimate.

Can I combine multiple improvements in one project?

Yes. Bundling related work often creates a cleaner result and reduces repeat scheduling, travel, and setup.

What does a drywall repair, ceiling repair, and texture matching estimate include?

We confirm the work to be included, discuss materials and finish expectations, and provide a clear written estimate before work begins.

Ready when you are

Let’s make the first step simple.

Tell us what you want to change, and we’ll help you define the right next move.

Request an estimate