
Make sure the home is ready for reconstruction

After a fire or flood, it is tempting to start replacing what looks damaged. The safer sequence is to confirm the leak or fire source is controlled, standing water is addressed, the structure is safe, and any required drying, mold, smoke, or hazardous-material work has been completed by the appropriate specialists.
Reconstruction is the rebuild phase. It may include drywall replacement, ceiling repair, texture matching, paint, flooring, cabinets, trim, and fixture installation, but it should not cover up an unresolved moisture or safety problem.
- Source control and mitigation complete
- Structural and electrical concerns reviewed
- Drying or remediation documentation available
- Permit and inspection questions identified
Build a room-by-room reconstruction scope
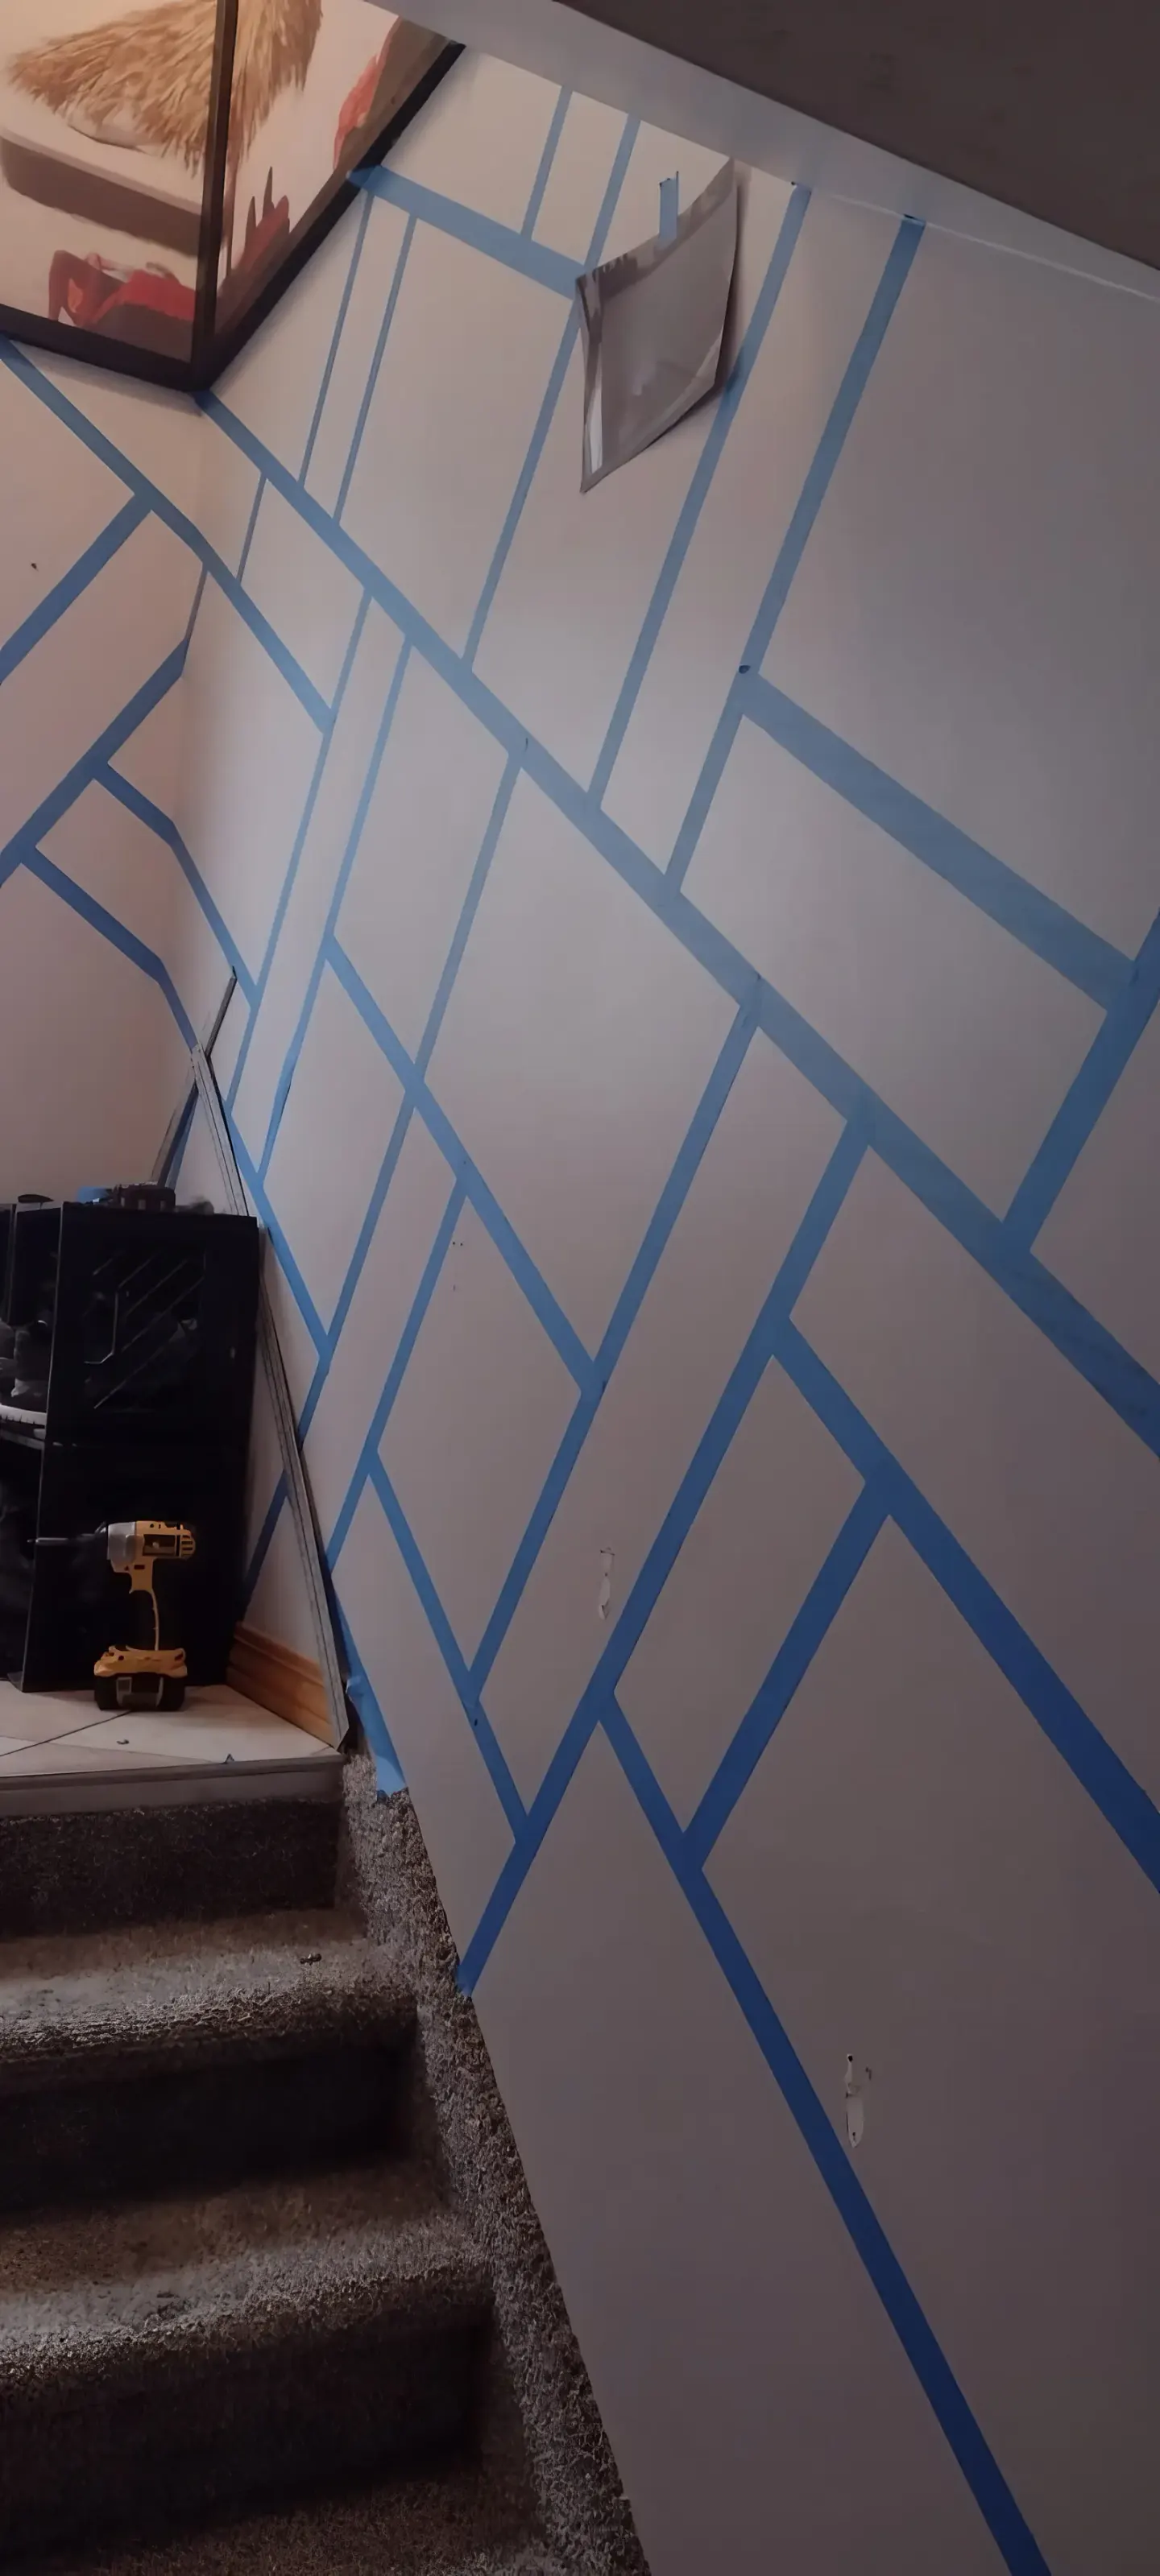
A clear scope turns a stressful loss into a list of decisions. Document which walls and ceilings were opened, what flooring or cabinetry was removed, what can be saved, and which finishes need to match the surrounding rooms.
Include protection, debris removal, primer, paint, texture, trim, flooring transitions, cabinet details, and final cleanup. Those small line items are often what make the difference between a space that is technically rebuilt and one that feels restored.
- Demolition and disposal
- Drywall, ceiling, insulation, and texture
- Paint, trim, flooring, cabinets, and fixtures
- Material matching and finish standards
- Final walkthrough and punch list
Sequence the rebuild so work is not repeated
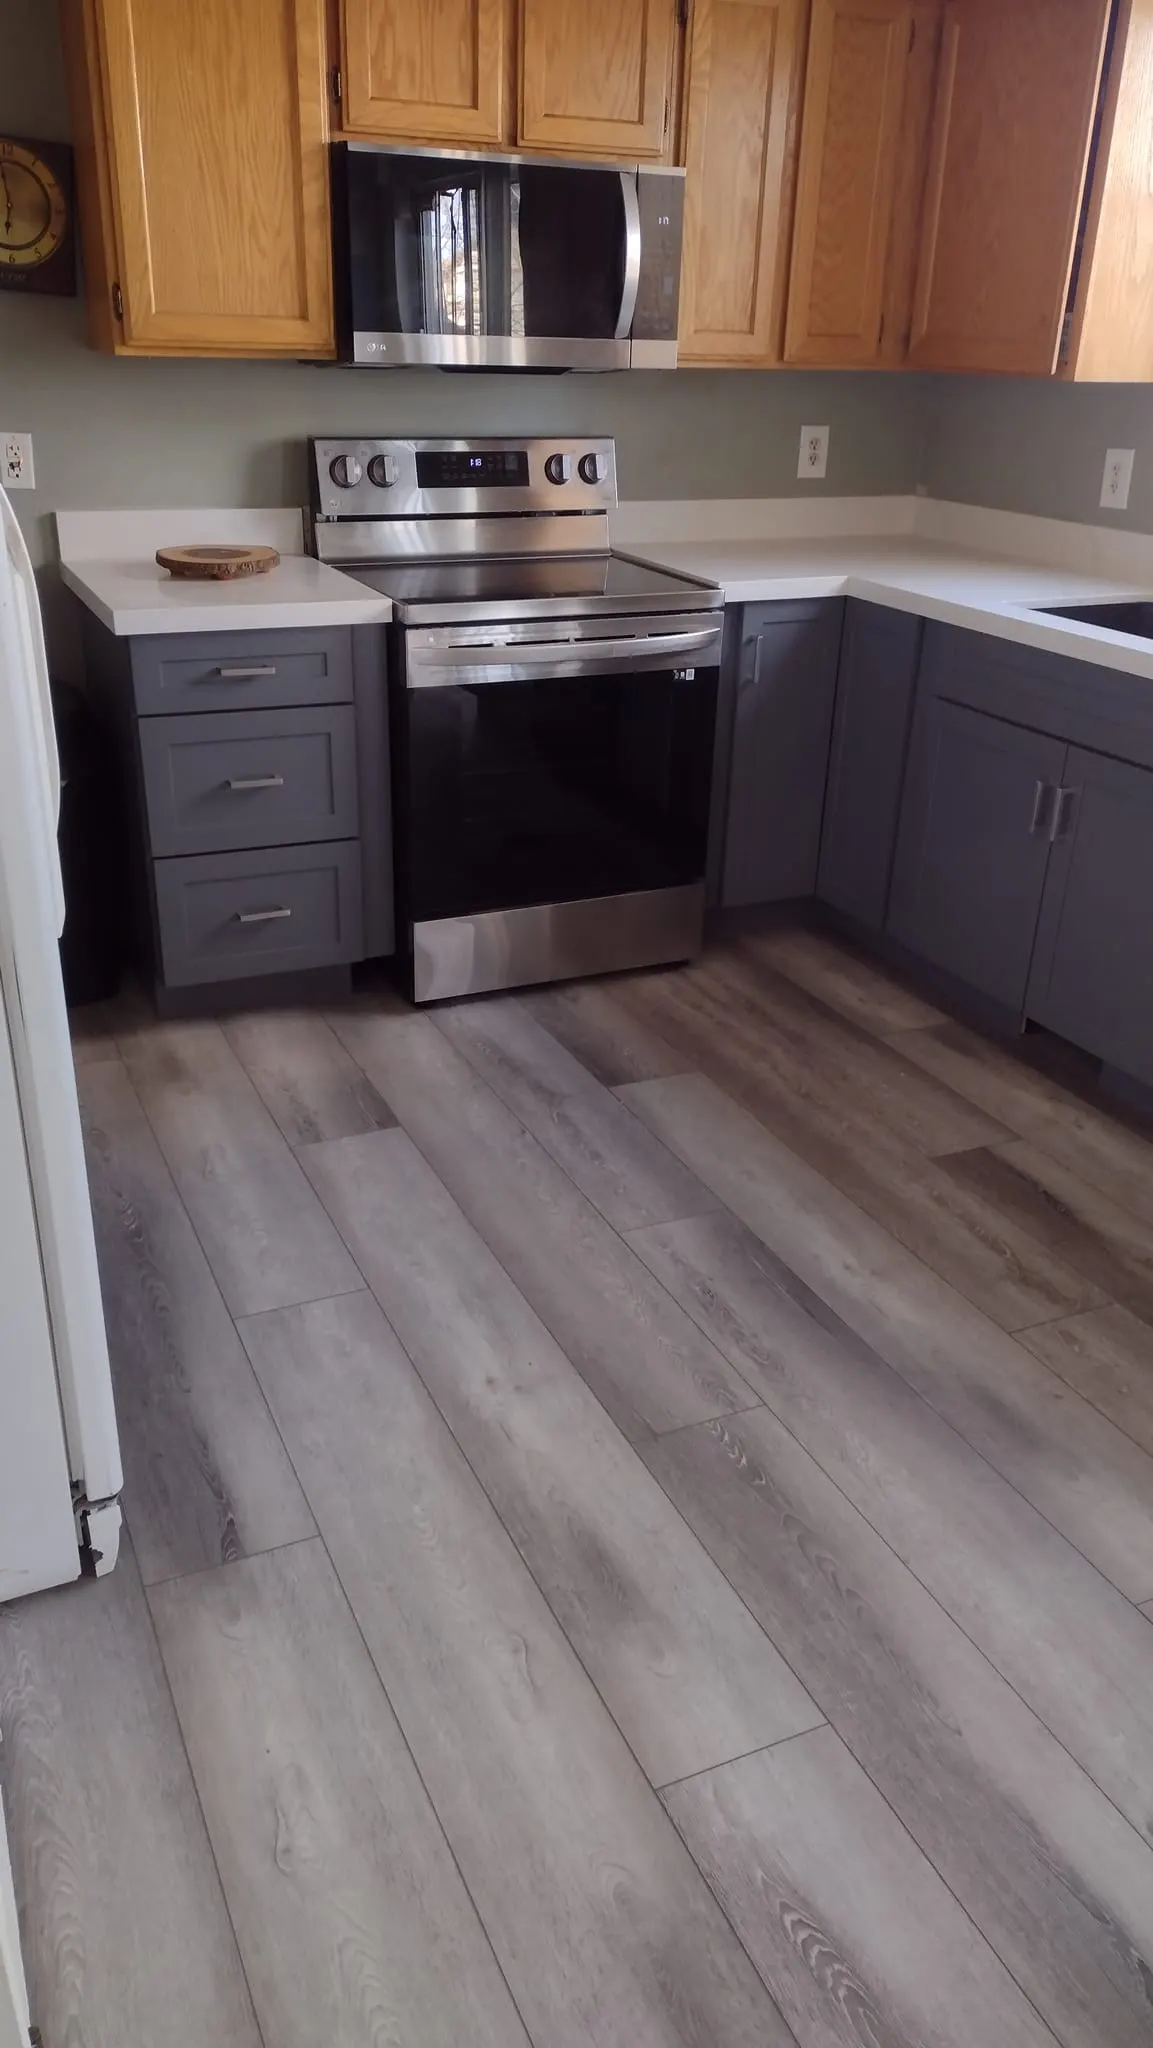
Open-wall repairs and inspections come before insulation and drywall. Drywall finishing comes before final paint, and flooring, cabinets, doors, trim, and fixtures should be scheduled around the materials that need lead time.
The exact timeline depends on the number of rooms, drying records, inspections, material availability, and hidden conditions. A reconstruction contractor should explain dependencies instead of promising a finish date before the scope is known.
How insurance coordination fits in
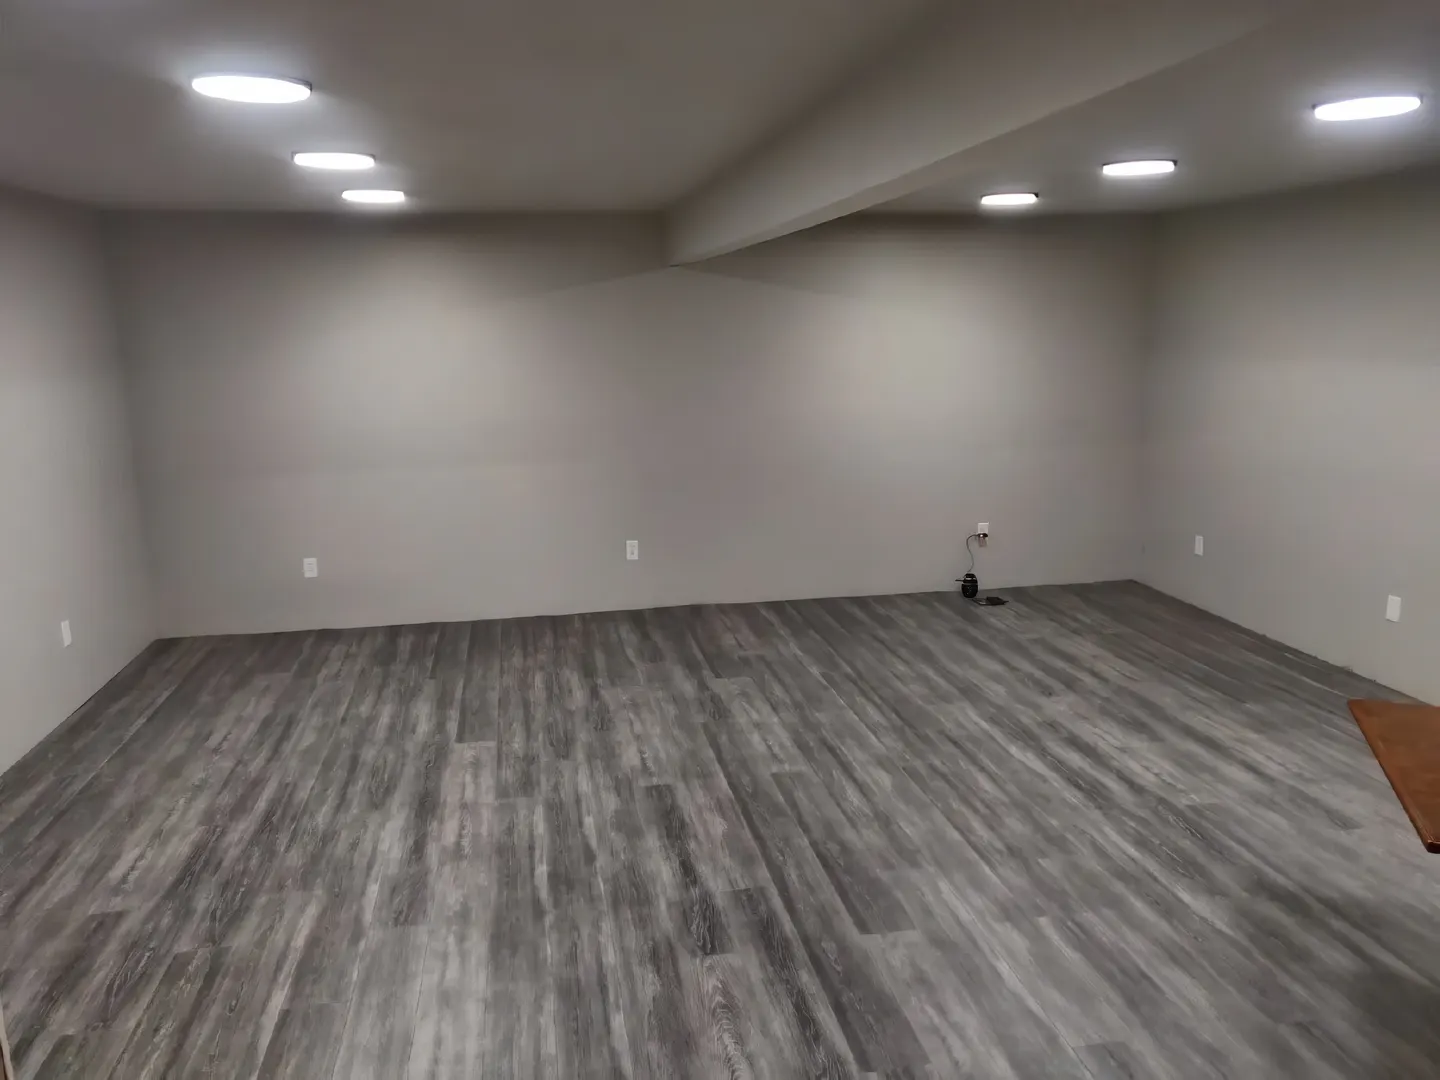
Your insurance carrier and adjuster determine coverage; the contractor documents the construction scope they are asked to price and perform. Keep mitigation reports, photos, adjuster notes, approved scope documents, and change-order records together.
If the approved scope does not reflect a discovered condition, pause and document it before adding work. That simple habit makes the conversation clearer for the homeowner, contractor, and carrier.
- Keep photos and mitigation records
- Compare the approved scope with actual conditions
- Document concealed damage before closing walls
- Separate covered repair from optional upgrades
Plan the next step
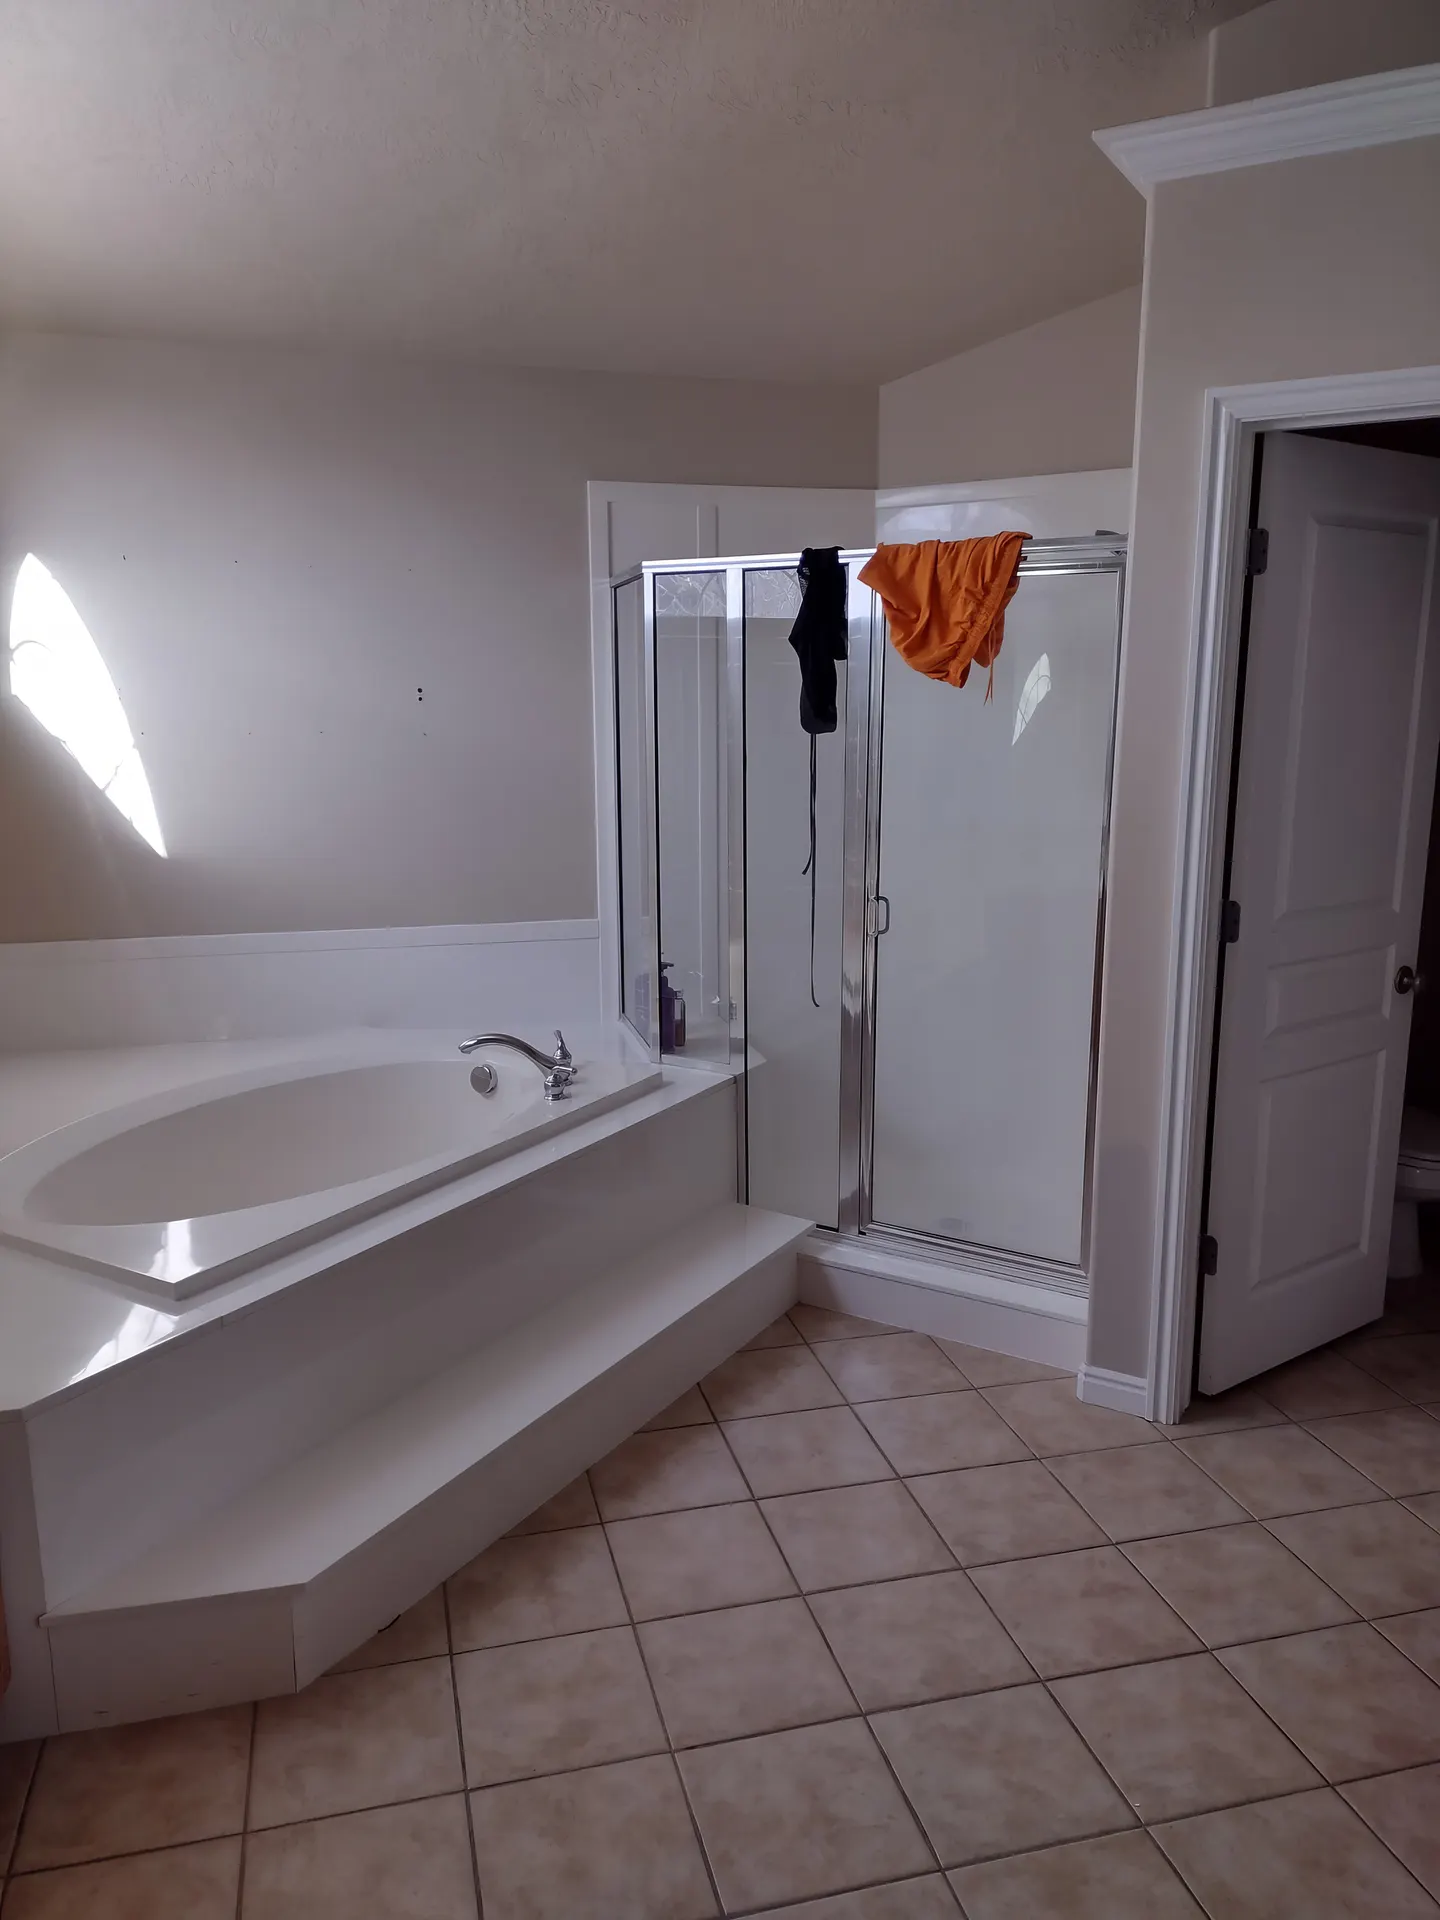
Send photos of the affected rooms, the mitigation company report if you have it, and any insurance scope or adjuster notes. We can help identify the reconstruction items that fit our work—drywall, ceilings, texture matching, paint, flooring, cabinets, and finish restoration—and flag where another licensed specialist is needed.
A thoughtful rebuild is measured twice: once for safety and once for finish quality. If your Salt Lake County home is ready for reconstruction, request a scope review before choosing materials or scheduling the final trades.

Patton field note
I have spent decades fixing, remodeling, and maintaining homes across Salt Lake County. My goal is to share practical, no-nonsense advice to help you keep your property in top shape.
Tracy Patton · Owner & Lead Specialist
Photos on this guide come from Patton's project and field archive where available; illustrative images are labeled in the article record.
Planning a reconstruction project?
Share your location, photos, priorities, and timing. Patton will help identify the right next step and connect the conversation to a clear service scope.
Keep researching
Connect this guide to the work itself: review related Patton projects, then check service coverage in Salt Lake City, West Jordan, South Jordan, Sandy, Draper, and nearby Salt Lake County communities.